Basement Finishing & Bathroom Addition project complete by ASASA
  • Blogs
  • About us
  • Contact us
  • Career
  • BASEMENT FINISHING & BATHROOM ADDITION

    +1-647-956-1116 Get In Touch

    BASEMENT FINISHING & BATHROOM ADDITION

    Our client wanted us to complete their basement and install an additional bathroom. Our consultation manager sat and talked with the clients to understand what they required. After brainstorming with them, we concluded that we would add another bathroom in the basement. Once everything was finalized, we presented them with our proposal, which they loved. We finally got the go-ahead we were waiting for. Renovating this tiny bathroom was a challenge, but we were motivated to accomplish this challenge. The clients wanted a glass shower enclosure, which was a hard bet. With some brainstorming, we came to an idea immediately approved by the owner. We decided to keep the shower enclosure in the corner, leaving ample space for people to move around quickly. The shower was used with a grey shower head as this color can make the bathroom look more spacious. We even installed a DIY mirror to give it a more enhanced look. It's tough to find reliable kitchen and bathroom remodeling contractors in Toronto. Visit our work portfolio to get a clear idea about our quality of services.

    Before & After

    We are here to show you some of our best basement finishing & bathroom addition projects. You can see our best commercial renovation projects before and after pictures below.

    STARTING PHASE

    Before we initiated the project, we made a list of materials required. We also took the exact measurements of the basement to avoid any future issues. We had to avoid any complications that may arrive shortly and give the best of our services to the client. After an all-out war of words, we finally got approval from the client. We went to the local hardware store and gathered all the necessary supplies. We began with meticulously inspecting the basement before starting the basement finishing.

    Before After
    Before After REMOVING THE FIXTURES

    REMOVING THE FIXTURES

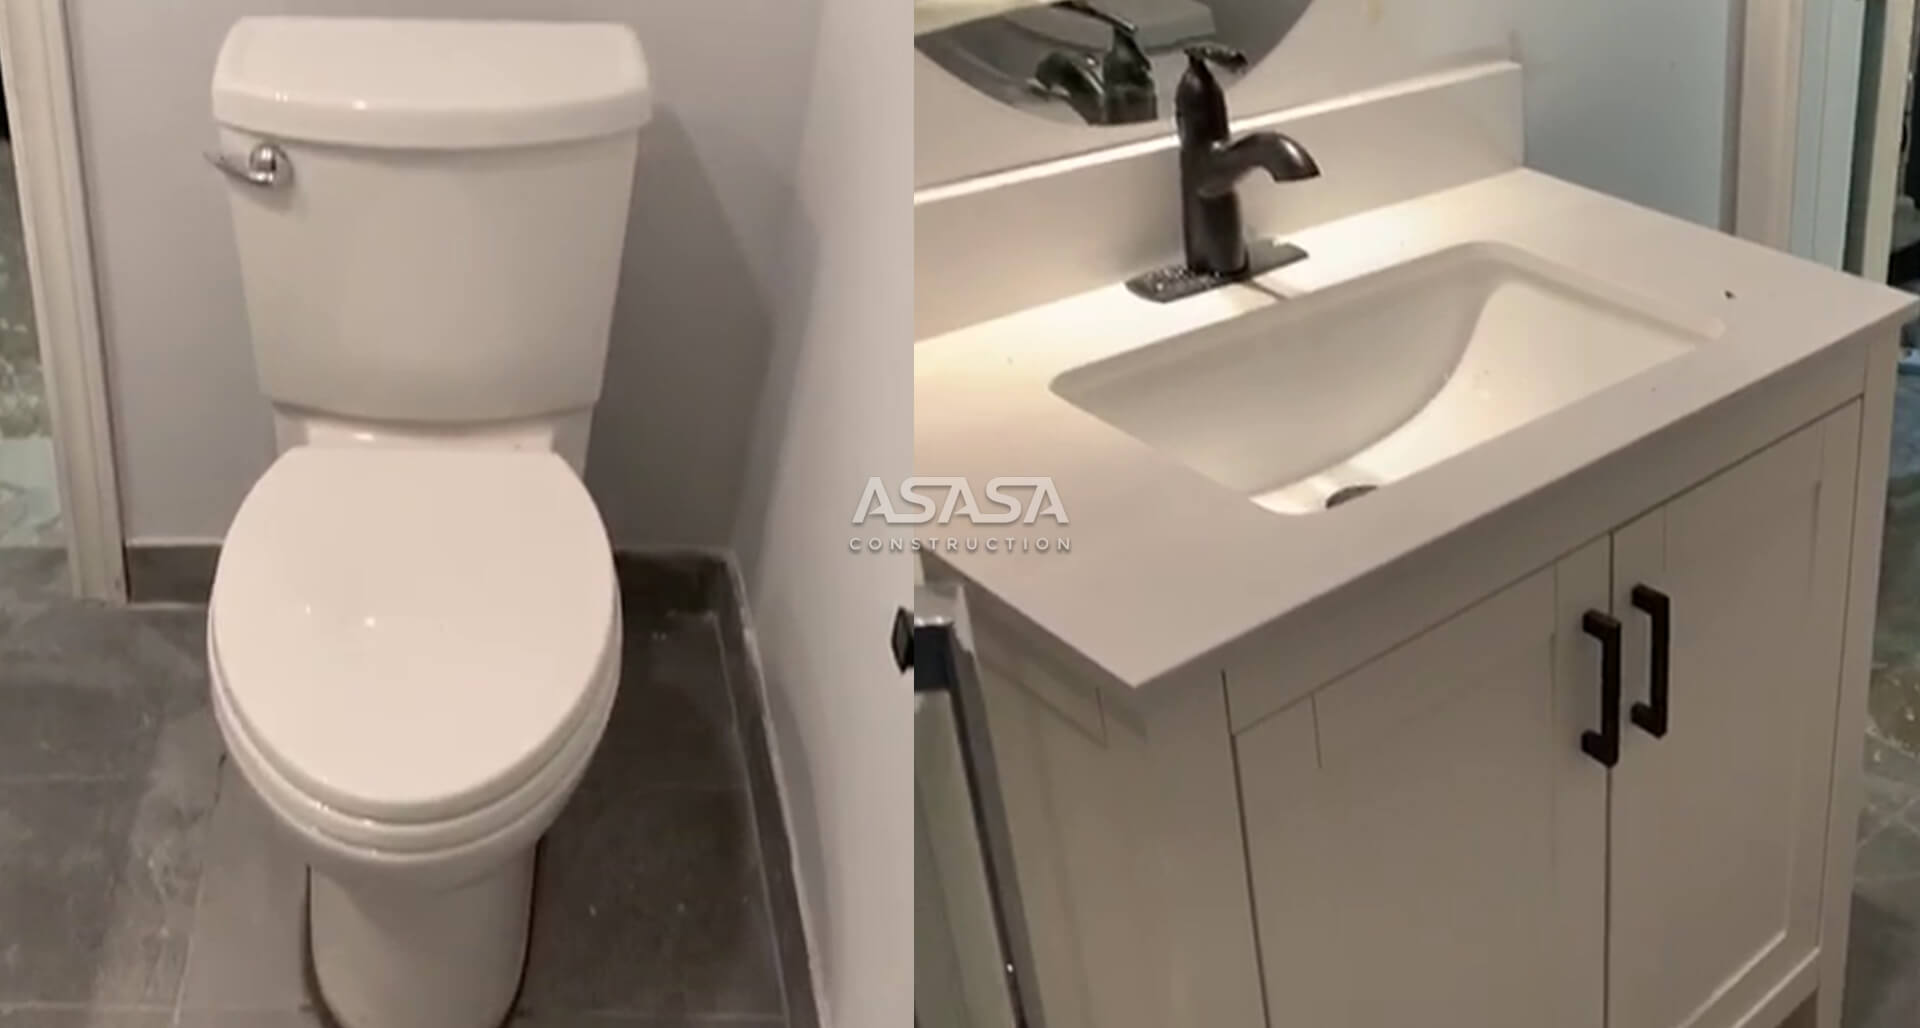
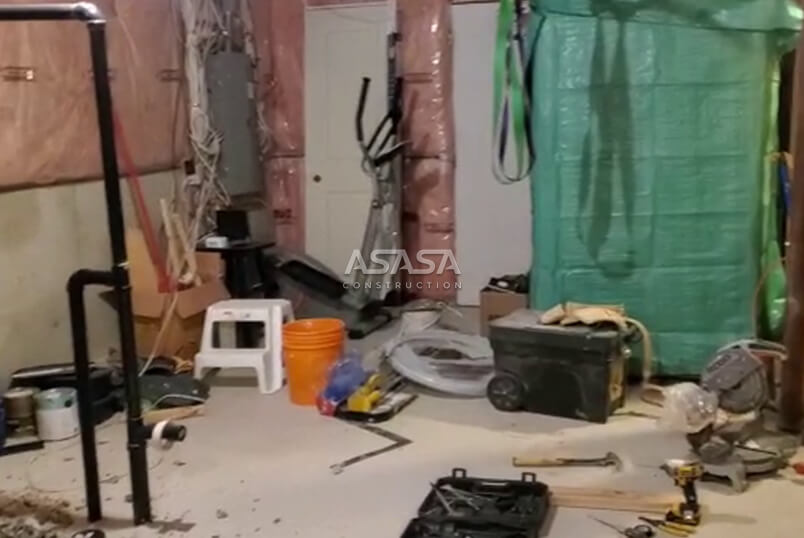
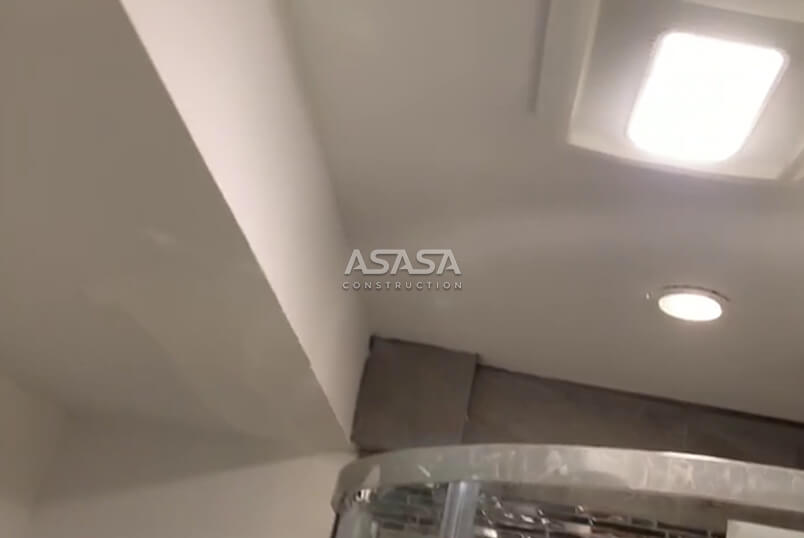
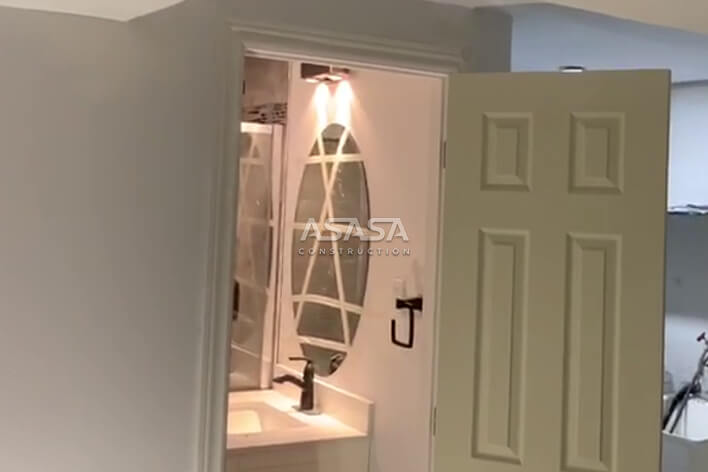
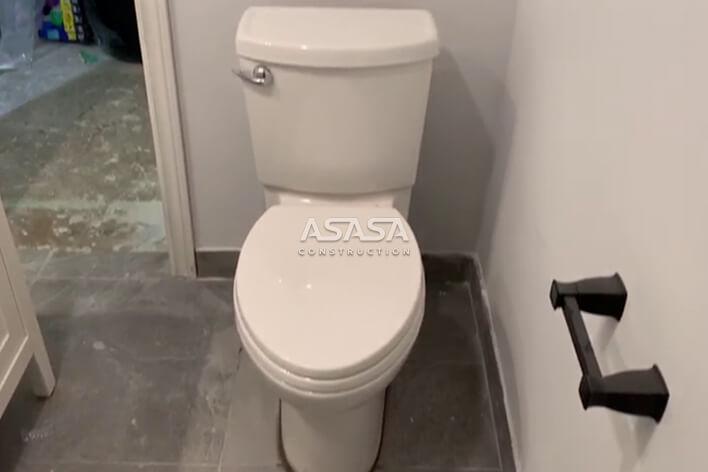
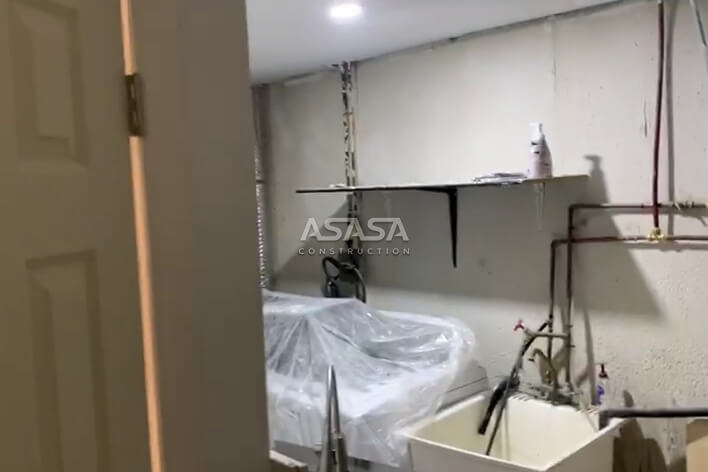
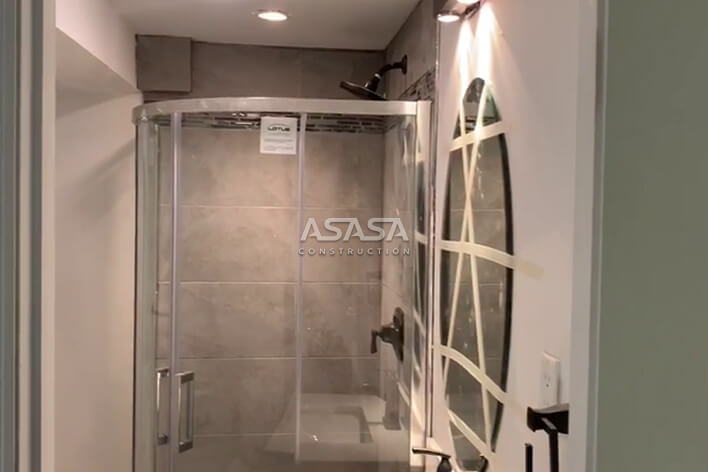
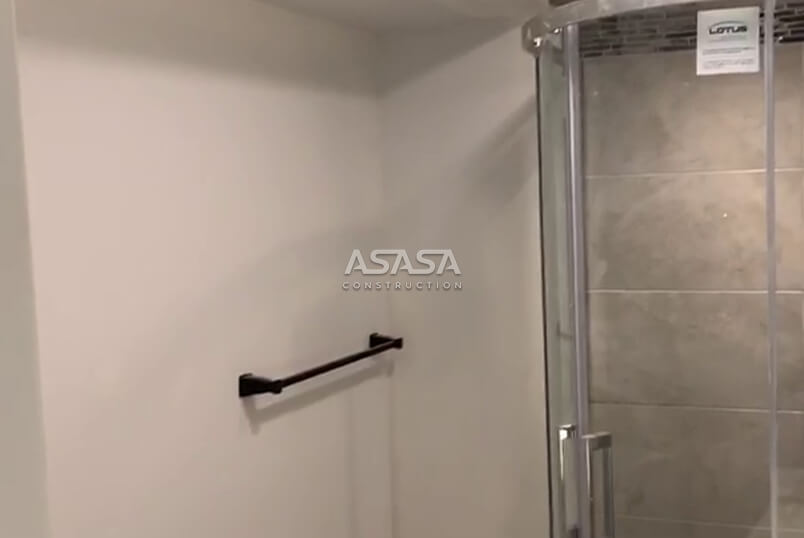
    The first job was to scrape off the paint from the walls. We used a scraper to take the dye to change the color scheme. We had to ensure that we did not damage the sub walls while removing the wall panels. Next, we removed all the fixtures and the old wiring that could be damaged, posing a danger to the people living in the house. The owners wanted to move their bathroom to a different location, so we had to create space for the bathroom, keeping in mind the bathroom's functionality. We also removed the old lighting fixtures, which badly needed replacement. We ensured that the things that could be reused didn't get damaged throughout the process.

    BEAM INSTALLATION

    The primary purpose was to keep it spacious and classy. Now it was time for us to pout the joists for the support. The beams were a little longer than the basement measurements and needed to be cut down slightly. We used a metal chop saw to cut down all the unnecessary parts. After making sure that they matched our measurements, they were ready to be placed. We used small screws to put the beams together. It was now time to put the insulation, and after successfully installing the insulation, we started to put the pieces of drywall that we bought from the hardware store.

    Before After BEAM INSTALLATION

    Project Gallery


    0
    1
    2
    3
    4
    5

    DRYWALL INSTALLATION

    We used a regular drill machine and screws to attach the drywall. The next task was to replace the window. We used the grout to close the previous window opening, and we waited for it to dry; meanwhile, we carved another space for the new window. While the whole team was exhausted, our client was kind enough to offer all of us a few cold drinks. She appreciated our hard work. We gave her a brief overview of what we had completed and what was left. She couldn't stop praising us for the efforts we are putting in for this project.

    Before After DRYWALL INSTALLATION
    Before After

    BATHROOM RENOVATION

    Initially, we removed the tiles from the toilet using a scraper and a knife to remove the tiles one by one. If you are a newbie, then there's a high chance that you will end up damaging most of your tiles. Be careful while doing this; you might end up injuring yourself. Usually, removing the first tile is the hardest. Use a knife and a scraper safely. We leveled the floor and took measurements to ensure perfectly balanced. After that, we started placing the tiles using the grout mixture that we prepared. After every tile was in place, we gave it ample time to dry.

    COMPLETION

    After renovating, we gave the client a surprise visit to her newly transformed basement. She couldn't hold herself from screaming with joy. Her happiness was the award for our extended hard work and our team's tireless efforts. Without our core team, it wouldn't have been possible. The client ended up giving us a positive review, which helped us boost our morals to the next level. The client assured us that she would definitely contact us for any future renovations, and she highly recommended our services to her family and friends.

    Before After COMPLETION COMPLETION

    WE ARE THE MOST TRUSTED AND EXPERIENCED COMMERCIAL AND RESIDENTIAL CONTRACTOR IN TORONTO.

    GET THE BEST EXPERTS FOR YOUR CONSTRUCTION AND RENOVATION PROJECTS.

    Read Testimonials

    We Always Love To Hear From Our Customers